Add a user
This is documentation for an outdated product. See the current documentation
Step 1 Add a new user
Main settings
- Login - enter a username to access the control panel.
- Name - enter the name for the new user. It can be any information related to that user.
- Password - enter the password for accessing the control panel. The password can be randomly generated by the system. To get one, click a special button next to the field.
- Confirmation - retype the password to ensure that it has been entered correctly. If it was randomly generated, confirmation is set automatically.
- Comment - enter any additional information related to this user.
- Backups - enable this option to create regular backups of user data.
Limits
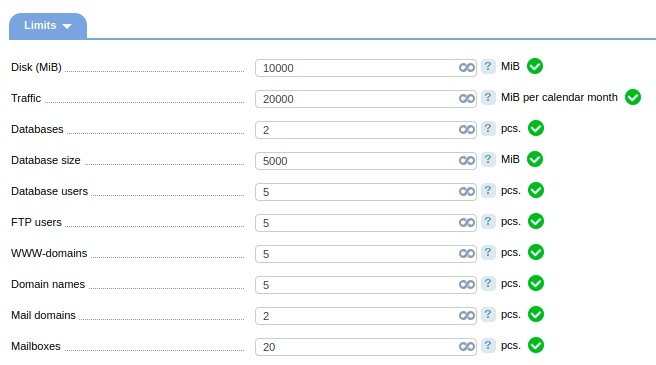
- Disk — enter the maximum amount of disk space that can be used by this user. This limit does not apply to the size of databases.
- Traffic — enter the maximum amount of traffic that can be used by this user.
- Databases — enter the maximum number of databases that can be used by this user.
- Database size — enter the maximum disk space size that can be allocated to the user's databases.
- Database users — enter the maximum number of database users that can be used by this user.
- FTP-users — enter the maximum number of ftp-users that can be used by this user.
- WWW-domains — enter the maximum number of WWW-domains that can be used by this user.
- Domain names — enter the maximum number of domain names that can be used by this user.
- Mail domains — enter the maximum number of mail domains that can be used by this user.
- Mailboxes — enter the maximum number of mailboxes that can be used by this user.
Resources
- CPU time - set a limit on CPU usage per this user.
- RAM - enter the maximum amount of RAM that can be allocated to this user.
- User processes - enter the maximum number of processes that can be allocated to this user.
- Mailbox maximum size - enter the maximum amount of this user's mailbox.
- Cron jobs - enter the maximum number of cron jobs that this user can create.
- Simultaneous connections per session - enter the maximum number of simultaneous connections from a certain IP address that can be processed by the web-server.
- Apache handlers - enter the maximum number of Apache handlers that user's WWW-domain can process.
- Simultaneous MySQL-connections - enter the maximum number of simultaneous connection to the MySQL database this user may have per hour.
- MySQL connections - enter the maximum number of connection to the MySQL database this user may have per hour.
- MySQL queries - enter the maximum number of commands this user may execute.
- MySQL update query - enter the maximum number of commands that modify the data this user may execute.
CloudLinux
- CPU load limit - enter the limit on CPU frequency in %.
- Total number of processes - enter the total number of processes allocated to this user.
- Physical memory - enter the maximum amount of physical memory allocated to this user, in Mib.
- Virtual memory - enter the maximum amount of virtual memory allocated to this user, in Mib.
- I/O limit - enter the maximum I/O limit in kb/s.
- Simultaneous connections - enter the maximum number of simultaneous connections.
- Enable CageFS - select the checkbox to activate CageFS for this user.
- PHP version - select a PHP version that will be available to this user.
Note: you can change PHP version for users only with CageFS and PHP as CGI check boxes selected.Access
- SSL - select the checkbox to enable HTTPS for the web-domains of this user.
- CGI - select the checkbox to enable PHP as CGI for the web-domains of the user.
- PHP as Apache module - select the checkbox to enable PHP as Apache module for the web-domains of the user.
- PHP as CGI - select the checkbox to enable PHP as CGI for the web-domains of the user.
- Shell access - check the box to allow shell access for the user.
Default values
- Domain encoding - select the default encoding.
- PHP mode - select the PHP mode.
- Index page - select the default index page.
Step 2 Additional information
In this form, you can select additional objects that will be added upon user creation.
- Create the selected object automatically - select the check box if you want to create the objects after this use is created.
- Add FTuserser - select the check box to add an FTP-user.
- Name of the FTP-user - enter the name for for the FTP-user.
- Add web-domain - select the check box to create a web-domain for this user.
- Name of the web-domain - enter the name for the web-domain.
- IP address - enter the IP address that will be assigned to the newly created web-domain.
- Add mail domain - select the check box to create a mail domain for this user.
- Name of the mail domain - enter the name for the mail domain.
- IP address - enter the IP address that will be assigned to the newly created mail domain.
Step 5 Confirmation
In this form you can confirm the information you have entered in the prevous forms. You should return to a required step to edit the information, if needed.